How to Set Up a Cleaning Station in a Rental Shop
Rental shops move fast. Gear comes back, goes out, and gets handled by multiple people in between. Without a clear cleaning station, cleaning gets skipped, rushed, or mixed up.
If you want consistency without slowing down your team, the solution is simple: build a cleaning station that is easy to use and impossible to ignore. Stocking disinfectant wipes for fast touchpoints and disinfectant spray for full gear coverage helps your team keep items moving while maintaining a cleaner rental workflow.
Why Every Rental Shop Needs a Cleaning Station
Prevents cross-contamination
Rental gear gets handled by different customers all day. Straps, handles, padding, benches, counters, and fitting areas can all become shared contact points.
A cleaning station gives your team a controlled process. Instead of guessing what needs to be cleaned, returned items move through the same simple system every time.
Speeds up turnover
When supplies are scattered, staff waste time looking for wipes, spray, tags, or space to clean. That slows down returns and creates inconsistency.
A dedicated station keeps everything in one place. Gear comes back, gets processed, dries, and moves to the ready area without unnecessary backtracking.
Builds customer trust
Customers notice when a shop looks organized. A visible cleaning process shows that your team takes hygiene seriously.
Clear separation between dirty returns and cleaned items also makes your shop look more professional. It gives customers confidence before they touch, try on, or rent anything.
Where to Place Your Cleaning Station
Next to the dirty return area
The best cleaning station starts where gear comes back. Returned items should not travel through the shop before they are cleaned.
Placing the station near the dirty return area keeps used items contained and helps prevent clean gear from getting mixed with dirty gear.
Close to fitting zones
Fitting areas are high-touch zones. Benches, stools, sizing tools, rails, and mirrors get used constantly.
Keeping disinfectant wipes nearby makes quick resets easier between customers. Staff should be able to wipe down shared surfaces without leaving the area.
Near the ready rack
The ready rack is the final stop before gear goes back out. This is where your team can do one last check before an item is marked available.
A small supply of disinfectant wipes near this area helps handle quick final touchups on handles, straps, and surfaces.
The key is simple: if your team has to walk across the shop to find supplies, they probably won’t use them consistently. Keep disinfectant wipes within arm’s reach and disinfectant spray at the main cleaning station for full gear coverage.
What to Include in a Rental Shop Cleaning Station
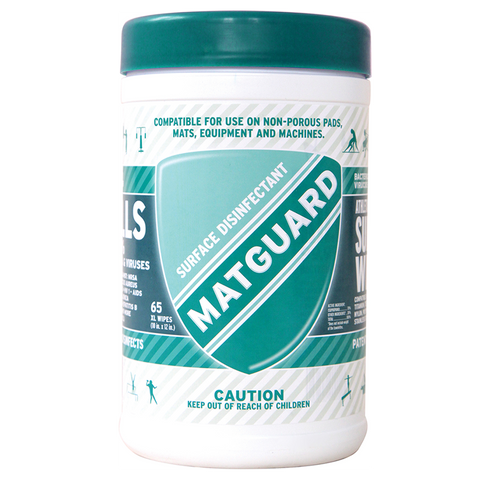
Disinfectant wipes
Disinfectant wipes are your speed tool. They are best for fast resets and high-touch areas that need frequent attention throughout the day.
Use wipes for:
-
Straps
-
Handles
-
Counters
-
Benches
-
Touchscreens
-
Pens and clipboards
-
Fitting tools
-
Shared tablets or radios
Keep disinfectant wipes stocked at every high-touch point so your team can reset items in seconds without slowing down the rental line.
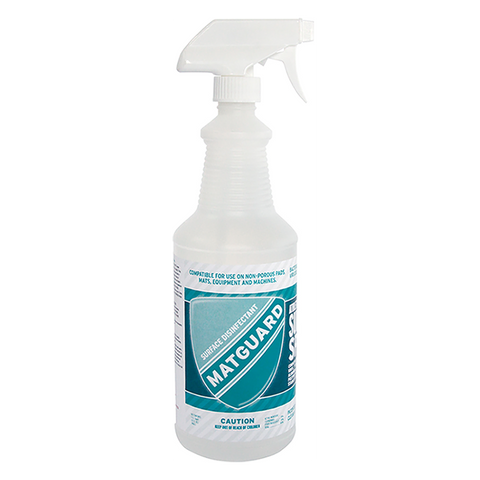
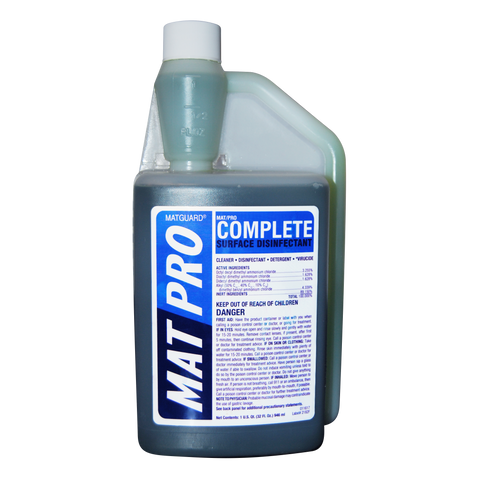
Disinfectant spray
Disinfectant spray is your coverage tool. It works best for larger surfaces, awkward shapes, seams, padding, and gear that needs a more complete cleaning step.
Use spray for:
-
Gear surfaces
-
Seams and padding
-
Hard-to-reach areas
-
Returned equipment
-
Storage bins
-
Cleaning tables
-
Drying racks
Use a disinfectant spray designed for gear and shared equipment to help cover the areas wipes can miss.
Cleaning table or station surface
Your cleaning station needs a dedicated surface where returned items can be inspected and processed. This keeps the workflow organized and avoids cleaning gear on counters, floors, or random benches.
Even a simple table works. The goal is to create one clear place where dirty gear goes before it moves to drying or ready storage.
Drying rack
A drying rack is one of the most important parts of the setup. It gives cleaned gear a place to sit while the disinfectant does its job and surfaces dry.
Skipping this step can lead to moisture buildup, odor, and sloppy handling. Never stack wet gear immediately after cleaning.
Gloves and basic PPE
Depending on the type of gear you rent, gloves or basic protective equipment may make sense. This is especially useful when handling visibly dirty items or gear with heavy skin contact.
It also adds a more professional feel to the process. Staff know what to do, and customers can see that cleaning is taken seriously.
How the Cleaning Workflow Should Work
Step 1: Intake
Start by inspecting returned gear. Look for visible dirt, damage, odor, moisture, or anything that needs extra attention.
Separate visibly dirty items from regular returns. This prevents one bad item from contaminating the rest of the batch.
Step 2: Full disinfect
Use disinfectant spray first for full coverage on gear surfaces, seams, padding, and larger areas.
Then use disinfectant wipes on high-touch spots like handles, straps, buckles, clips, and customer contact points. Spray gives coverage. Wipes give control and speed.
Step 3: Drying
After cleaning, place the item on a drying rack. Do not stack it, shove it in a bin, or move it straight back to the ready rack while wet.
Dry time helps prevent odor, moisture issues, and confusion about whether an item has actually been processed.
Step 4: Move to “Cleaned & Ready”
Once the item is dry, move it to a clearly marked cleaned area. Use tags, bins, or racks so staff know it is ready to go back out.
There should be no guessing. Gear is either dirty, being cleaned, drying, or ready.
The “Clean vs Dirty” Setup
3-zone system
The easiest setup uses three clear zones:
- Dirty returns
- In cleaning / drying
- Cleaned & ready
This keeps the process simple. Every item has a place, and your staff always knows what stage it is in.
Simple labeling system
You do not need anything fancy. Use clear signage, color tags, clip-on labels, or status cards.
The goal is to make the system obvious at a glance. A new employee should be able to understand it in seconds.
Accountability
Assign ownership by shift or zone. One person may handle dirty returns, another may manage drying and ready gear, and another may reset fitting areas.
When everyone owns cleaning, no one really owns it. Clear responsibility makes the process actually happen.
Common Cleaning Station Mistakes
Supplies are too far away
If wipes and spray are stored in the back, staff will skip steps when the shop gets busy.
Fix it by placing disinfectant wipes at counters and fitting areas, then keeping disinfectant spray at the main cleaning station.
Only wiping, no full disinfecting
Wipes are helpful, but they are not always enough for full gear coverage.
Fix it by using spray first on larger surfaces, seams, padding, and awkward shapes. Then use wipes for touchpoints.
No drying time
Cleaning gear and immediately stacking it is a common mistake. It can trap moisture and create odor issues.
Fix it by adding a drying rack into the workflow. Drying should be treated as part of the process, not an optional step.
Mixing clean and dirty gear
This is the mistake that causes the most confusion. If dirty and clean items live too close together, staff may grab the wrong item.
Fix it with separate bins, racks, labels, and a clear cleaned-and-ready area.
How to Keep the System Consistent
Daily restock routine
Start every day by checking wipes, spray, gloves, tags, and drying space. Do not wait until the shop is busy to realize you are out of supplies.
Restocking should be part of the opening checklist.
Keep it simple
The best cleaning system is the one your staff will actually follow. Avoid overcomplicated rules, too many steps, or supplies that are hard to find.
Simple systems win because they survive busy days.
Train staff in 5 minutes
Training does not need to be complicated. Show staff the difference between wipes and spray, explain the dirty-to-clean flow, and walk through the ready rack process.
Then repeat it daily until it becomes automatic.
Frequently Asked Questions About Rental Shop Cleaning Stations
Keep this tight and practical. These are the most common questions rental shops ask about setting up and running a cleaning station.
What is the most important part of a cleaning station?
Consistency and placement. If the station is easy to use, it gets used. If supplies are hidden or far away, cleaning becomes inconsistent.
Should we use wipes or spray?
Use both. Disinfectant wipes are best for fast touchpoint resets, while disinfectant spray is better for full coverage on gear, seams, padding, and larger surfaces.
How big does a cleaning station need to be?
It does not need to be large. A small table, labeled bins, disinfectant spray, wipes, and a drying rack can be enough for many rental shops.
Do we need a drying rack?
Yes. A drying rack helps prevent moisture buildup, odor, and confusion. It also gives cleaned gear a clear place to sit before it moves to the ready area.
How do we know gear is ready?
Use a “Cleaned & Ready” system with tags, racks, bins, or labels. The goal is to make clean status obvious without staff having to ask or guess.
Conclusion
A good cleaning station does not slow your shop down. It makes everything faster, cleaner, and more consistent. When your team has disinfectant wipes for quick resets and disinfectant spray for full gear coverage, cleaning becomes part of the workflow instead of something that gets skipped.
Set it up once, keep it stocked, and make it part of every rental.